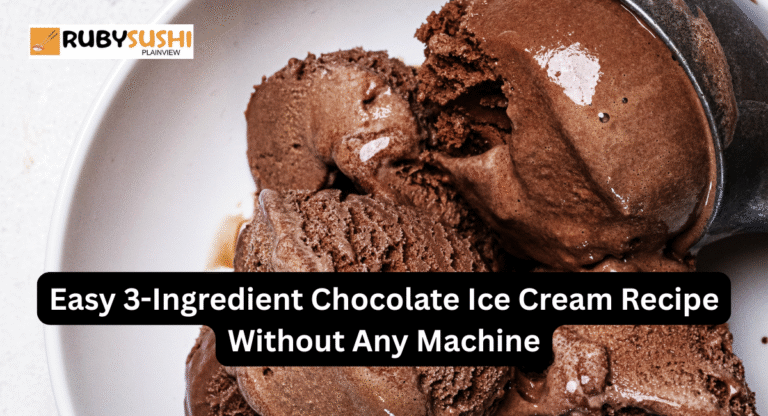

For people of all ages, chocolate ice cream is a timeless favorite. Nothing beats a rich, creamy scoop of chocolate goodness, whether it’s on a hot summer day or just for a random craving. Even though store-bought alternatives are easily accessible, there’s something special about creating your ice cream at home, particularly when it’s easy, quick, and only calls for three ingredients. You read correctly!
This comprehensive guide will show you how to make homemade chocolate ice cream without the need for complicated steps, blenders, or churners. All you need is a freezer, a bowl, and a whisk or hand mixer. This recipe is suitable for both novice and experienced home cooks.
Why Make Chocolate Ice Cream at Home?
Let’s first consider the advantages of creating your chocolate ice cream before getting started with the recipe:
- Better Ingredients: You are in charge of what goes into your dessert; there are no artificial coloring agents, preservatives, or added sugars.
- Customizable Flavor: Tailor the sweetness or chocolate intensity to your preferences.
- Economical: Premium ice creams purchased from stores can be costly. Homemade versions taste just as decadent and are less expensive.
- Fun Activity: Preparing ice cream at home can be a soothing self-care routine or a fun project to do with children.
The Three Essential Ingredients
Let’s get right to the show’s main stars. Three basic, readily accessible ingredients are used in this recipe:
1. One can (400g) of sweetened condensed milk
The base and sweetener are this viscous, sugary liquid. It adds a rich texture and removes the need for additional sugar.
2. 500ml or 2 cups of heavy whipping cream
The secret to that texture is creamy, light, and scoopable. It adds volume and smoothness to the ice cream when it is whipped.
3. ½ cup of unsweetened cocoa powder
For that rich, complex chocolate flavor, add ½ cup of unsweetened cocoa powder. For a stronger flavor, you can also use Dutch-processed cocoa.
Chocolate chips, fudge swirls, chopped nuts, marshmallows, or a dash of sea salt are optional additions.
Step-by-Step Instructions: No Need for a Machine!
Step1: Whip the Cream
Pour the cold heavy whipping cream into a large mixing bowl. Beat the cream on medium-high speed with a stand mixer or a hand mixer until stiff peaks form. Usually, this takes four to six minutes.
Make sure the cream is chilled. For quicker whipping, you can also chill your beaters and mixing bowl.
Step 2: Include Condensed Milk and Cocoa
Sift the cocoa powder to get rid of any lumps, then combine it with the condensed milk that has been sweetened until it is smooth and well combined.
The result will be a dense, chocolatey concoction that already has a divine scent.
Step 3: Fold the Mixtures Together
Now, gently mix the chocolate-condensed milk mixture with the whipped cream. Make slow, sweeping movements with a silicone spatula. Avoid vigorous stirring because the aim is to retain as much air in the mixture as possible.
Mix until everything is a consistent chocolate color and there are no more white streaks.
Step 4: Fill and Set Aside
Pour the mixture into an airtight container, a loaf pan, or any freezer-safe container. Smooth the top and add some toppings, such as nuts or chocolate shavings, if you like.
Place a lid or plastic wrap over the container and freeze it for at least six hours or overnight.
How to Serve
Your ice cream should be firm but still scoopable after freezing. Before scooping, let it sit at room temperature for a minute or two.
Savor it between cookies, in a bowl, on a cone, or as a sundae!
Alternatives to Consider
Get inventive after you’ve perfected the fundamental recipe! Try these intriguing twists:
- Mocha Chocolate Ice Cream: To make Mocha Chocolate Ice Cream, mix the cocoa mixture with a teaspoon of instant coffee granules. Before freezing, add spoonfuls of Nutella and gently swirl.
- Mint Chocolate: Include mini chocolate chips and a few drops of peppermint extract.
- Rocky Road: Stir in chocolate chips, almonds, and marshmallows.
- Spicy Chocolate: For a Mexican-style kick, add a pinch of cayenne pepper and a dash of cinnamon.
How It Operates Without a Machine
In order to add air and avoid ice crystals, traditional ice cream makers churn the mixture. This no-churn approach imitates that procedure by:
- Air is naturally added, and volume is created by whipping the cream.
- Utilizing condensed milk, which lowers the possibility of an icy texture due to its low water content.
The outcome? With no heavy machinery, you can achieve a rich, creamy texture that rivals churned ice cream!
Storage Advice
- Shelf Life: Keeps in the freezer for two to three weeks.
- Press plastic wrap straight onto the surface before closing the lid to prevent freezer burn.
- Refreshing Texture: For the ideal creamy consistency, let it sit at room temperature for one to two minutes before scooping.
Conclusion
This simple 3-ingredient chocolate ice cream is a welcome (and delectable) change in a world full of intimidating techniques and unduly complicated recipes. It serves as a reminder that delicious flavors don’t always need to be complex and that sometimes the most satisfying pleasures are the most straightforward.
The next time your sweet tooth strikes, make this crowd-pleasing treat in your kitchen instead of going to the store. Chocolate heaven is only a few steps away with just three ingredients and no equipment.
Are you prepared to give it a try?
Prepare to be spoonfuls of happiness as your freezer does its magic.
Frequently Asked Questions
Is it possible to avoid dairy?
Indeed! Sweetened condensed coconut milk and coconut cream (the thick portion of a chilled can of full-fat coconut milk) can be used as alternatives.
Is it possible to substitute chocolate for cocoa powder?
Condensed milk can be combined with melted milk or dark chocolate. To suit your taste, adjust the sweetness.
My ice cream is icy; why is that?
Potential causes:
Inadequate mixing.
The freezer isn’t cold enough.
With low-fat cream.
Is it possible to double the recipe?
Of course! Just make sure your bowl and container are big enough to freeze.
Read More: How to Make 2-Ingredient Italian Dressing Chicken – A Deliciously Simple Recipe

